Showing posts with label kitronik. Show all posts

Monday 13 July 2020

Dancing Kitronik's Game Zap - reacts to music

You will glad to hear this is only a short post.  

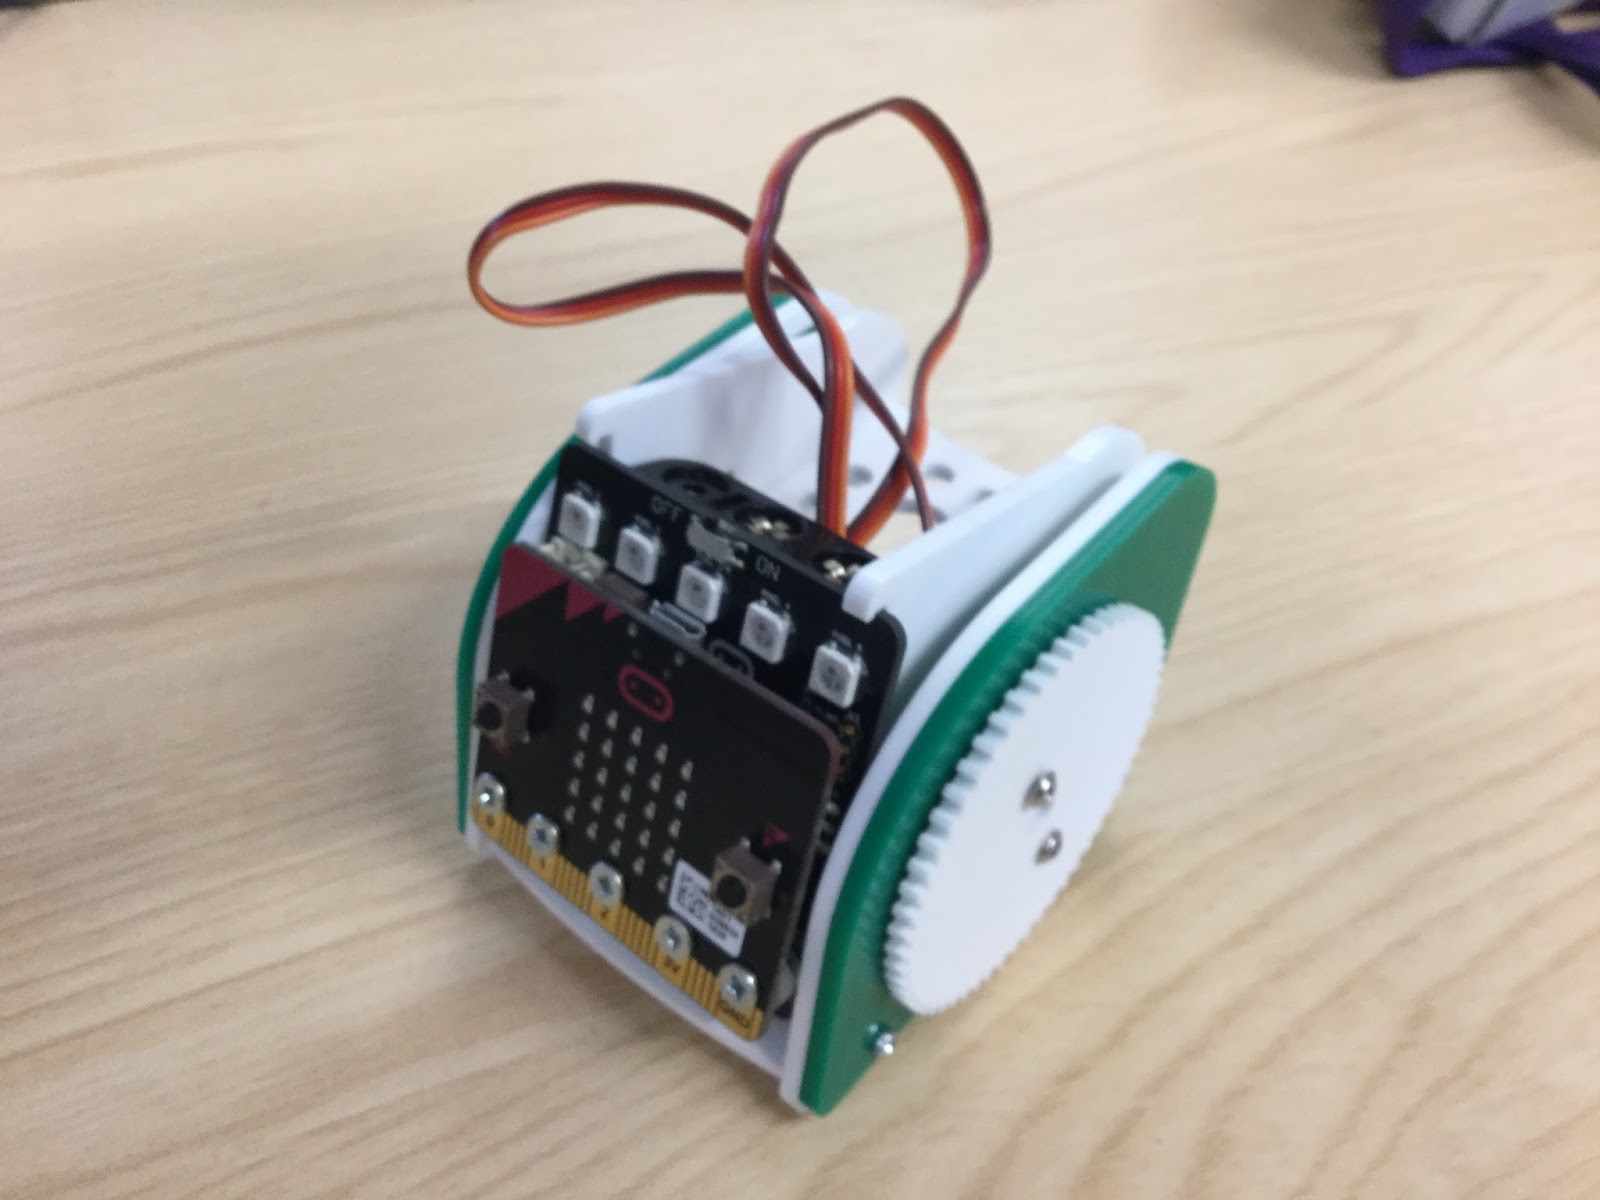
In an earlier post, Build a Disco Cube:bit that reacts to music; the vibrations of music, makes the cube sitting on a speaker with the volume pushed to 11 (just to test it of course) react to the music. The accelerometers values in the micro:bit, in the three axis, are feedback to change the neopixels colour. Simple but good fun.


With some very minor (and I do mean minor) changes it works on the Kitronik's Game Zap - eight pixels are altered at a time instead of five but apart from that nothing more. The code in python is shown below:

from microbit import *
import neopixel, random

np = neopixel.NeoPixel(pin0, 64)

while True:
    for pxl in range (3,64, 8):
        rd=int(abs(accelerometer.get_x())/20)
        gr=int(abs(accelerometer.get_y())/20)
        bl=int(abs(accelerometer.get_z())/20)
        np[pxl] = (rd, gr, 0)
        np[pxl+1] = (rd, gr, 0)
        np[pxl-1] = (rd, gr, 0)
        np[pxl+2] = (rd, gr, 0)
        np[pxl+3] = (0, gr, rd)
        np[pxl-2] = (0, gr, rd)
        np[pxl-3] = (rd, 0, 0)
        np[pxl+4] = (0, gr,0)

        np.show()


I was impressed with a few tweaks it worked! Please feel to share and copy, if this useful to you please share in the comments.


All opinions in this blog are the Author's and should not in any way be seen as reflecting the views of any organisation the Author has any association with. Twitter @scottturneruon

Monday 7 August 2017

kitronik :Move buggy (Python controlled servos)

In a previous post I looked at controlling the Kitronik :Move buggy using Javascript based blocks. In this short post I will show controlling the servos of the micro:bit based :Move buggy with Python.

Control is via pin1(left motor) and pin2 (right motor) and the motors have to be driven in opposite directions to move forward or backwards. The direction of the motors is controlled by the analogue value written to the pins; pinX.write_analog(180) - anticlockwise or pinX.write_analog(1) - clockwise (pinX.write_analog(0) - stops the motor). Setting the analog_period seems to work at 20ms; this was found by experiment, discussed in a previous post.

So the initial code below sets up the moves for forward, backward, turn left, turn right all controlled with a move for so many milliseconds.

Code 
from microbit import *

pin1.set_analog_period(20)
pin2.set_analog_period(20)

def forward(N):
    pin1.write_analog(180)
    pin2.write_analog(1)
    sleep(N)
    
def backward(N):
    pin1.write_analog(1)
    pin2.write_analog(180)
    sleep(N)

def turnLeft(N):
    pin1.write_analog(1)
    pin2.write_analog(1)
    sleep(N)

def turnRight(N):
    pin1.write_analog(180)
    pin2.write_analog(180)
    sleep(N)

while True:
    forward(1500)
    backward(1500)
    turnLeft(1500)
    turnRight(1500)   

I would recommend running the :Move buggy on a surface that isn't smooth, I found the wheels slipping on a smooth surface. This is a really nice little robot to play with.

All opinions in this blog are the Author's and should not in any way be seen as reflecting the views of any organisation the Author has any association with. Twitter @scottturneruon

Wednesday 26 July 2017

kitronik :Move mini buggy (JavaScript blocks)

Finally got around to building add playing with the Kitronik :Move https://www.kitronik.co.uk/5624-move-mini-buggy-kit-excl-microbit.html (see below - I decided to put the green sides on the outside - just to be different). One of its features is a vertical set of holes for a pen to be placed in.


Add the blocks (found at https://github.com/KitronikLtd/pxt-kitronik-servo-lite) in blocks editor (https://makecode.microbit.org/) to control the motors. You can do the same thing with writing to the pins, those instructions come with the build instructions, but using the extra blocks  is a little easier to understand. Also add the package for neopixels (type in neopixels in the search box to find them). Two very good tutorials I found useful to start with can be found at:


1. Motor example
I wanted it so that press A on the Micro:bit the robot goes turns right, goes forward, goes back and turns left. 


A stop block does need to be included, without it the :Move will continue moving. The wheels I found can slip on some surfaces reducing the precision, but still fun to play with.

2. At the start and stopping.
I want to use the motors and the 'pixels', but I want to have a known starting position for the motors and set the turning speed; this was possible using the blocks (see below). The pixels are set at this point on pin P0 (see below) as well. 

To stop both the motors and cycling of the pixels - pressing buttons A+B together was set up to this.


3. Rainbow on the pixels.
On pressing button B the pixels rotate through a range of colours.


4. Summary
This is great fun. Having the set of blocks adding for the servos means it is a bit simpler to work with. 


All opinions in this blog are the Author's and should not in any way be seen as reflecting the views of any organisation the Author has any association with. Twitter @scottturneruon

Saturday 1 October 2016

Micro:bit, Servo control with Micropython or blocks

You can control servos (small ones) from a Micro:Bit directly. Following a link from the David Whale (Twitter ) , thank you, took me to a Kitronik blog post, https://www.kitronik.co.uk/blog/using-bbc-microbit-control-servo/, which has the answer.

The code uses Microsoft Blocks taken from the post, runs the servos 180 degrees and back again, when button A is pressed. It does exactly what it should. I am also using the Tower Pro SG90 servo.
Can it be replicated in Micropython? This is a new mini project, there seems to be little out there yet on how do this but the best so far is this video by PHILG2864:


The closest I have is the following, it is essentially there.
from microbit import *
pin0.set_analog_period(20)
while True:
    pin0.write_analog(180)
    sleep(1000)
    pin0.write_analog(1)
    sleep(1000)

Setting the time period to 20ms  pin0.set_analog_period(20)seems by experiment (and used in the video above) to be best value so far. The reason for pin0.write_analog(1)  set to 1 instead of 0, 0 seems to stop the whole thing.


All opinions in this blog are the Author's and should not in any way be seen as reflecting the views of any organisation the Author has any association with. Twitter @scottturneruon

Sunday 11 September 2016

How to do it yourself: Microbit Junkbot


What is a Junkbot?
For this project, it is a moving ‘bot’ made from waste materials, combined with an electric motor and a programmable device (in this case a Micro:Bit) to control (or try) it. An example is shown below. More details on junkbots can be found at http://junkbots.blogspot.co.uk/


Stage 1 - The start of a Junkbot
This stage is relatively simple. Tape some pens or straws to a drinks can.


Stage 2 - Physical arrangement of Microbit and motor control board

The control part is this via a Micro:bit (http://www.bbc.co.uk/programmes/articles/4hVG2Br1W1LKCmw8nSm9WnQ/the-bbc-micro-bit). Kitronik produce a motor driver board, and provide quite a bit of support for it, for the Micro:Bit (the latest version of the board can be found at https://www.kitronik.co.uk/5620-motor-driver-board-for-the-bbc-microbit-v2.html ). A 6v battery pack is connected (see on the left of the image) and wires going to a motor are attached to the first block on the front left (marked as motor A).


The overall arrangement is show below, including a broken propellor as an unbalanced load to make the motor vibrate - the propellor was to hand but if you can secure something a clothes peg this could be used.


Stage 3 - Built Junkbot
Now we just need to put them together by taping (or fixing somehow) the motor to the junkbot built in stage 1. A further possibility is to attach the Micro:Bit, motor driver board and battery pack to the junkbots; but this adds weight.


Stage 4 Code
 Using Micropython via the online editor https://www.microbit.co.uk to program the board and therefore the junkbot. 
An example piece of code is shown below:

from microbit import *

def startIt():
   pin8.write_digital(1)
   pin12.write_digital(0)
   pin0.write_digital(1)
   pin16.write_digital(0)    

def leftTurn(duration):
   pin8.write_digital(0)
   pin12.write_digital(1)
   sleep(duration)
   
def stopIt():
   pin8.write_digital(1)
   pin12.write_digital(1)
   sleep(2000)

while True:
   startIt()
   
   if button_a.is_pressed():
       leftTurn(100)
   
   if button_b.is_pressed():
       stopIt()

Unplug the Micro:bit from the motor driver board and download the code to the microbit. Unplug the download cable and plug the Micro:Bit back into the motorboard, with the battery pack attached there is enough power for the Micro:Bit and the motor - don't plug in any other power including the programming cable when it is in the motor driver board.


Stage 5 In action


Suggested Resource List
  • Small Electric Motor
  • Kitronik Motor Board
  • Battery Pack
  • BBC Micro:bit
  • Pens
  • Junk (Can or Bottle)
  • Wires
  • Tape
  • Scissors
  • Broken Propeller or un-balanced load
  • Screw Driver


Related Links


All opinions in this blog are the Author's and should not in any way be seen as reflecting the views of any organisation the Author has any association with.

Friday 19 August 2016

Micro:bit Junkbot for use in schools


A new direction has been developed for the junkbot project (http://junkbots.blogspot.co.uk/); previously Raspberry Pis have been used to control the junkbot’s movement (http://robotsandphysicalcomputing.blogspot.co.uk/2016/01/python-junkbot.html) – but what about the recently released Micro:Bits; can it be used to control a junkbot?

Matthew Hole, a student from Wrenn Academy, Northamptonshire ; has been investigating this idea whilst on a Nuffield Research Placement (http://www.nuffieldfoundation.org/nuffield-research-placements) working with Dr Scott Turner, University of Northampton. The project was to look into developing junkbots controlled using a Micro:bit and also to produce some materials for schools to use with or without outside assistance.


What is a Junkbot?
For this project, it is a moving ‘bot’ made from waste materials, combined with an electric motor and a programmable device (in this case a Micro:Bit) to control (or try) it. An example is shown above. More details on junkbots can be found at http://junkbots.blogspot.co.uk/


Approach used in the project.
A Micro:Bit was selected for two reasons. First, there was been a BBC supported project to give year 7 (or equivalent) students a Micro:bit (http://www.bbc.co.uk/programmes/articles/4hVG2Br1W1LKCmw8nSm9WnQ/the-bbc-micro-bit), so they are available in the schools. Secondly, Kitronik produce a motor driver board, and provide quite a bit of support for it, for the Micro:Bit (the latest version of the board can be found at https://www.kitronik.co.uk/5620-motor-driver-board-for-the-bbc-microbit-v2.html ). Using Micropython via the online editor https://www.microbit.co.uk to program the board and therefore the junkbot connected. The board with the Micro:Bit attached can be seen in the figure above carried on the junkbot.

An example piece of code is shown below:

from microbit import *

def startIt():
   pin8.write_digital(1)
   pin12.write_digital(0)
   pin0.write_digital(1)
   pin16.write_digital(0)    

def leftTurn(duration):
   pin8.write_digital(0)
   pin12.write_digital(1)
   sleep(duration)
   
def stopIt():
   pin8.write_digital(1)
   pin12.write_digital(1)
   sleep(2000)

while True:
   startIt()
   
   if button_a.is_pressed():
       leftTurn(100)
   
   if button_b.is_pressed():
       stopIt()


Suggested Resource List
  • Small Electric Motor
  • Kitronik Motor Board
  • Battery Pack
  • BBC Micro:bit
  • Pens
  • Junk (Can or Bottle)
  • Wires
  • Tape
  • Scissors
  • Broken Propeller or un-balanced load
  • Screw Driver


Related Links


All opinions in this blog are the Author's and should not in any way be seen as reflecting the views of any organisation the Author has any association with.

Top posts on this blog in March 2024

The Top 10 viewed post on this blog in March 2024. Covering areas such as small robots, augmented reality, Scratch programming, robots. Micr...