The Top 10 viewed post on this blog in March 2024. Covering areas such as small robots, augmented reality, Scratch programming, robots.
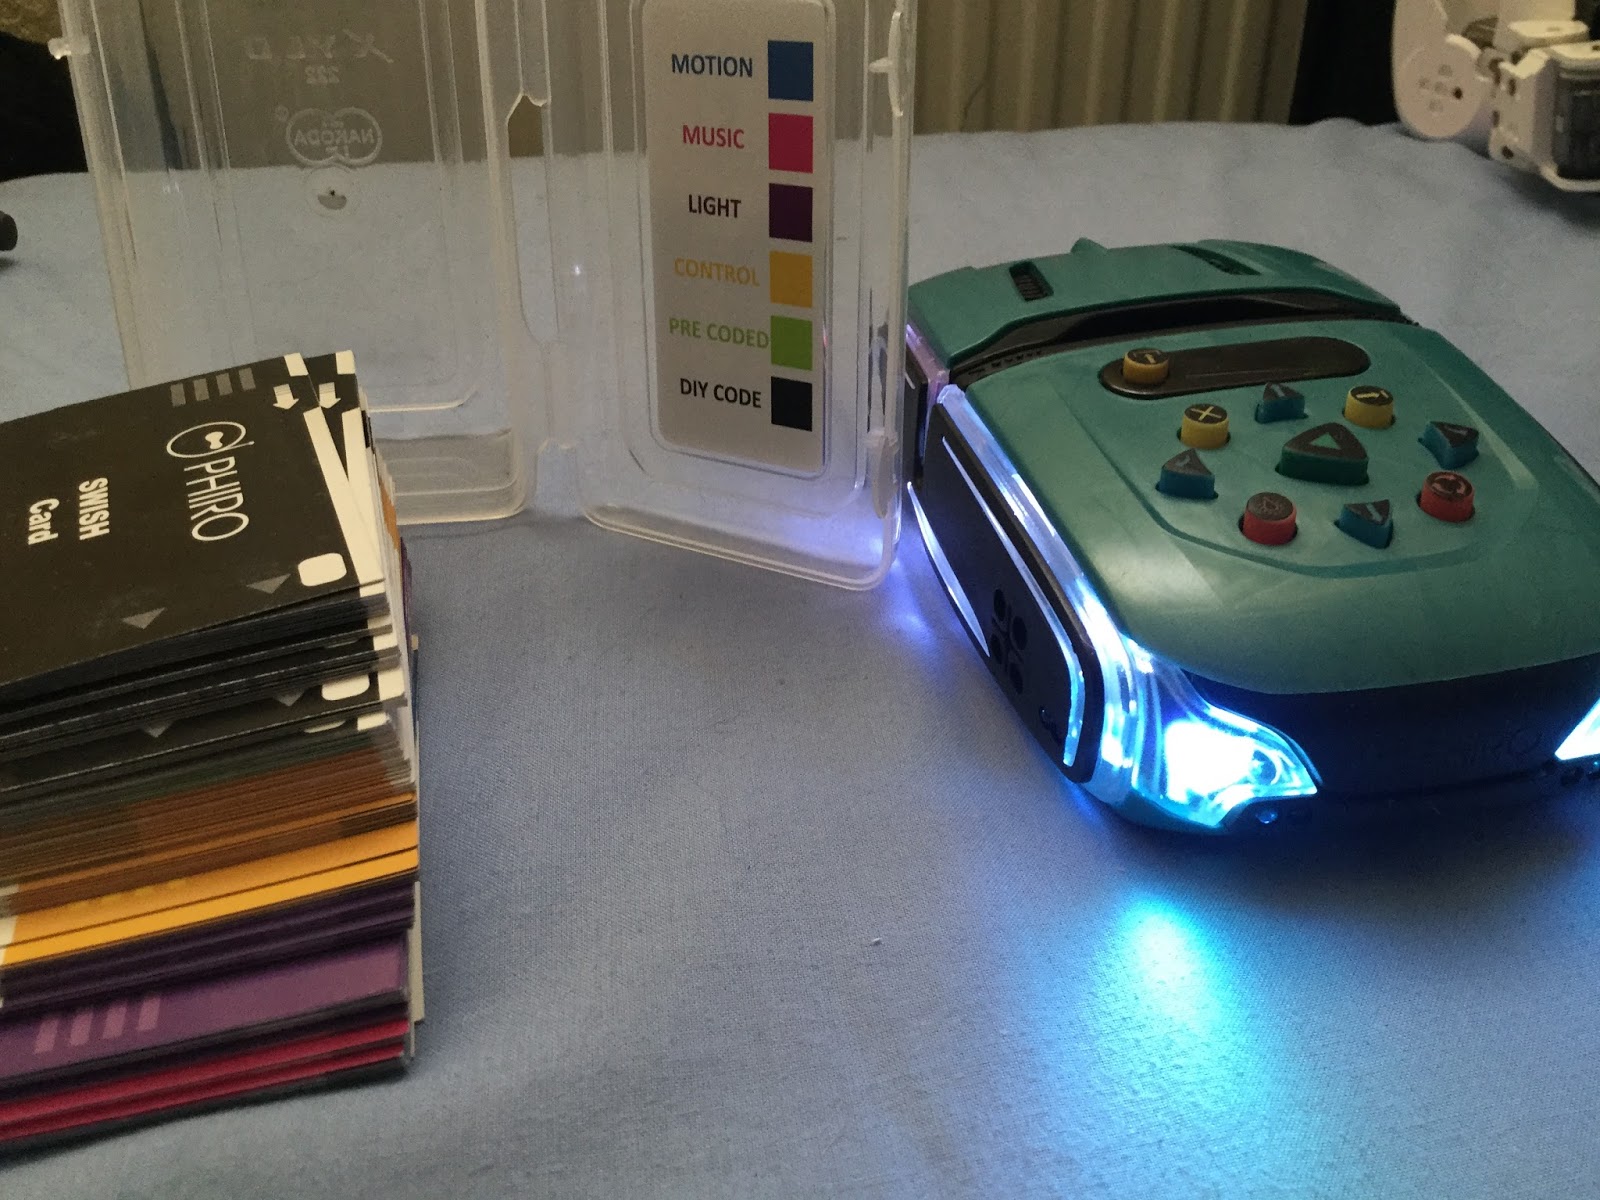
- I wanted to contol the CBiS micro:Bit Car via gestures whilst holding another micro:Bit (see Figure 1) I went for: - Button A in combinat...
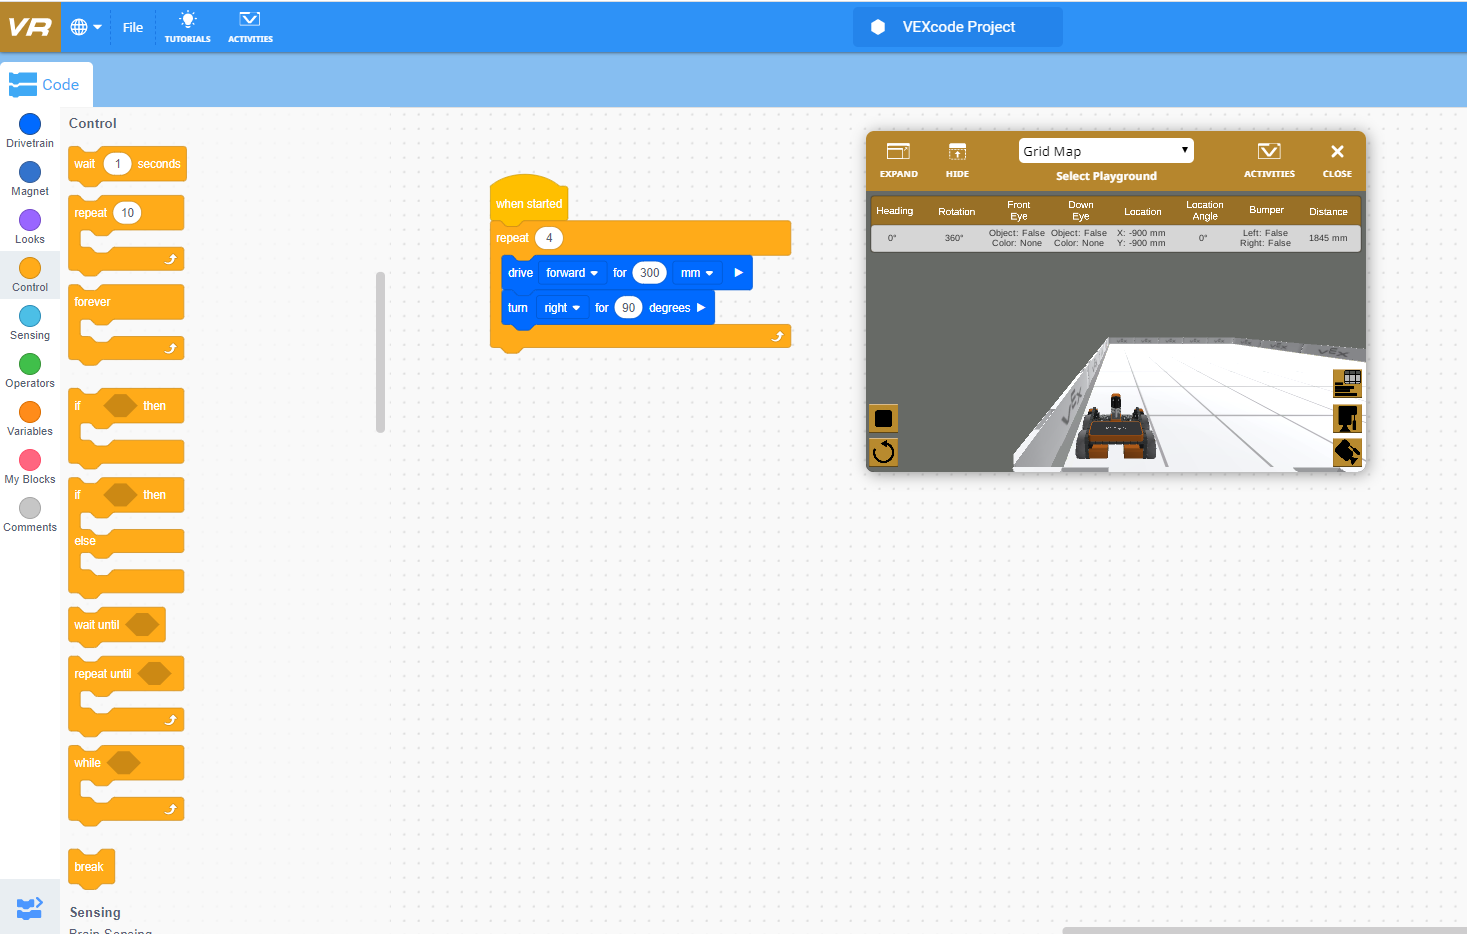
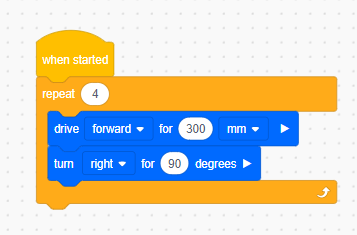
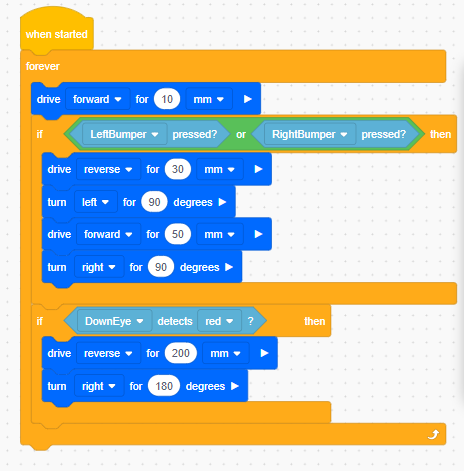
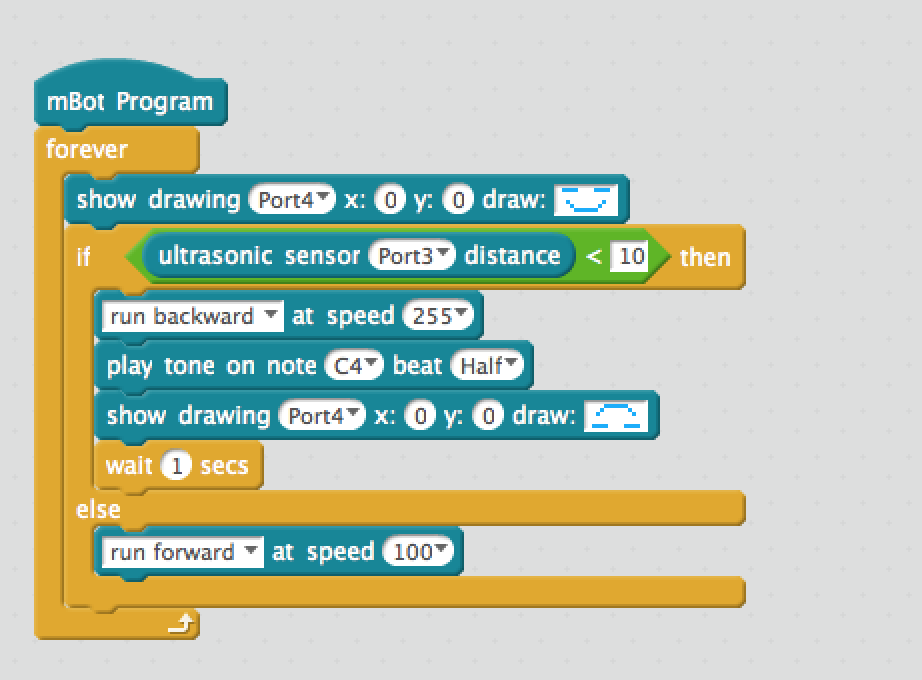
 You don't need to buy a robot to get programming a robot, now there are a range of free and relatively simple to start with robot simula...
 With the sad news that Anki is shutting down ( https://www.vox.com/2019/4/29/18522966/anki-robot-cozmo-staff-layoffs-robotics-toys-boris-sof...
 For a few years, I have been a fan of Aframe and AR.js - these are fantastic tools for creating web-based Virtual and Augmented Reality. No...
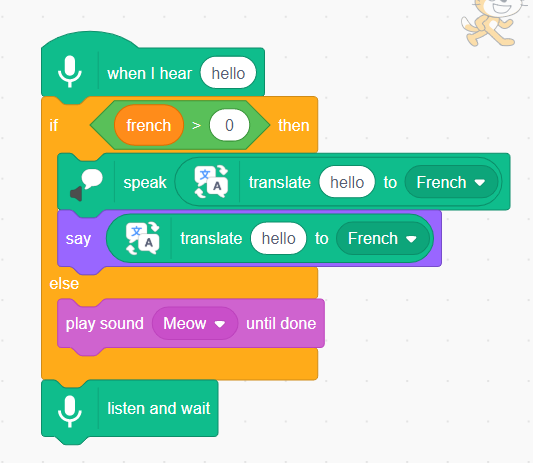
 The Raspberry Pi Foundation recently released a programming activity Alien Language , with support Dale from Machine Learning for Kids , tha...
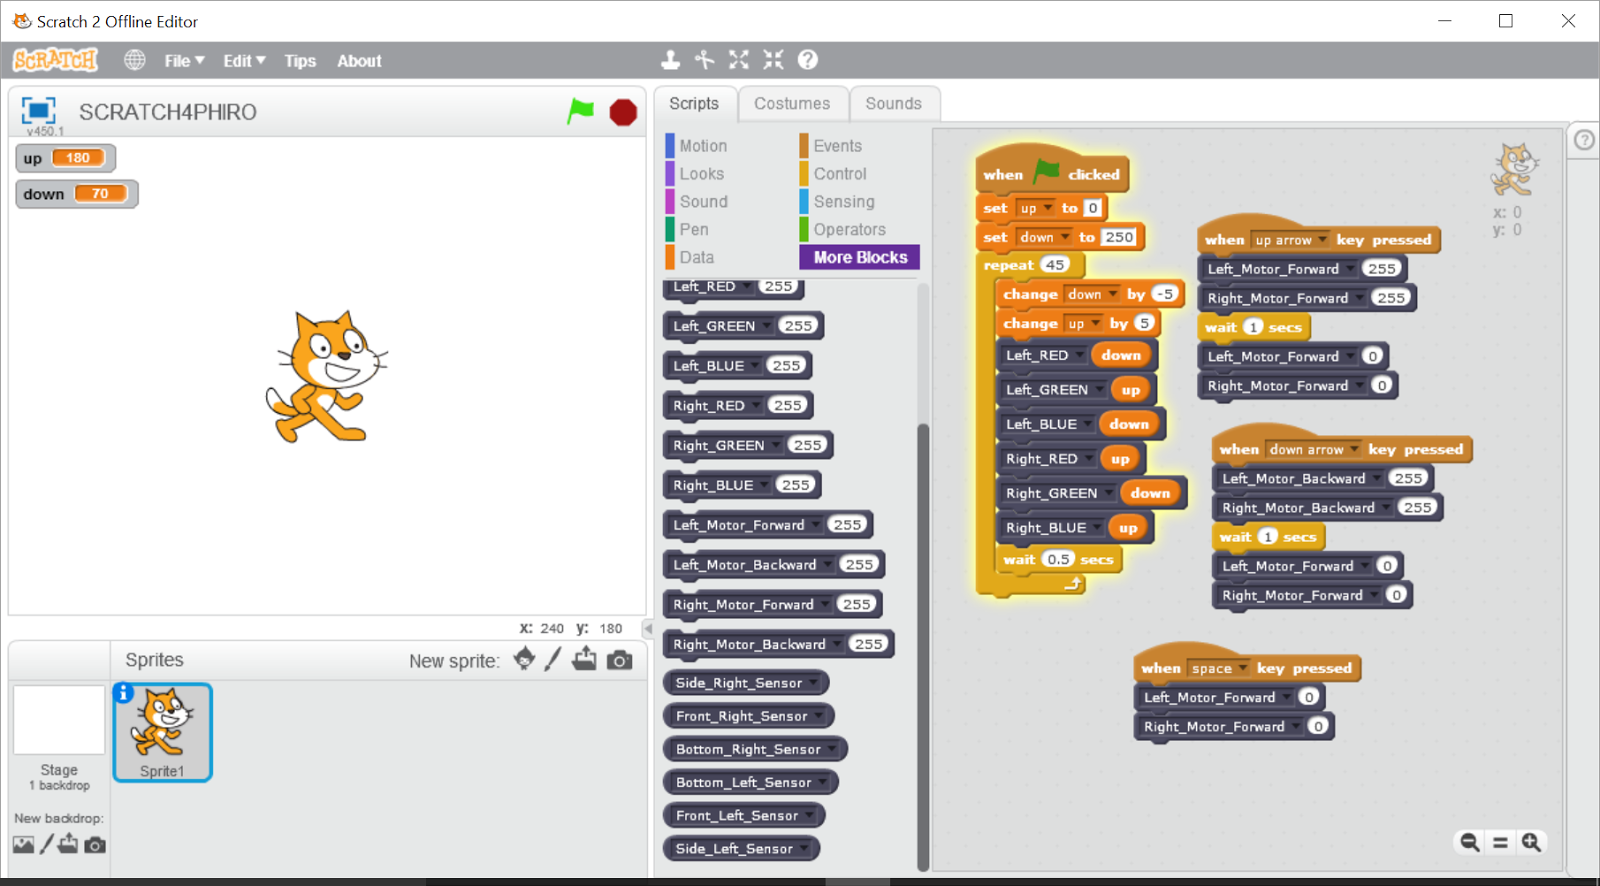
- For a number of years, I have been playing with robots as a means of developing programming/coding skills with students. The problem is when...
 It is not physical but CBiS Education have release a free robot arm simulator for Scratch. Downloadable from their site http://w...
 I recently tried out a new (well new to me) robot Codey Rocky - and yes I am going to tell people it's name is Rocky- for STEM outreach...
 I am going to try to persuade you that using A-Frame it is not hard to do some simple Augmented Reality (AR) for free, via a browser, but th...
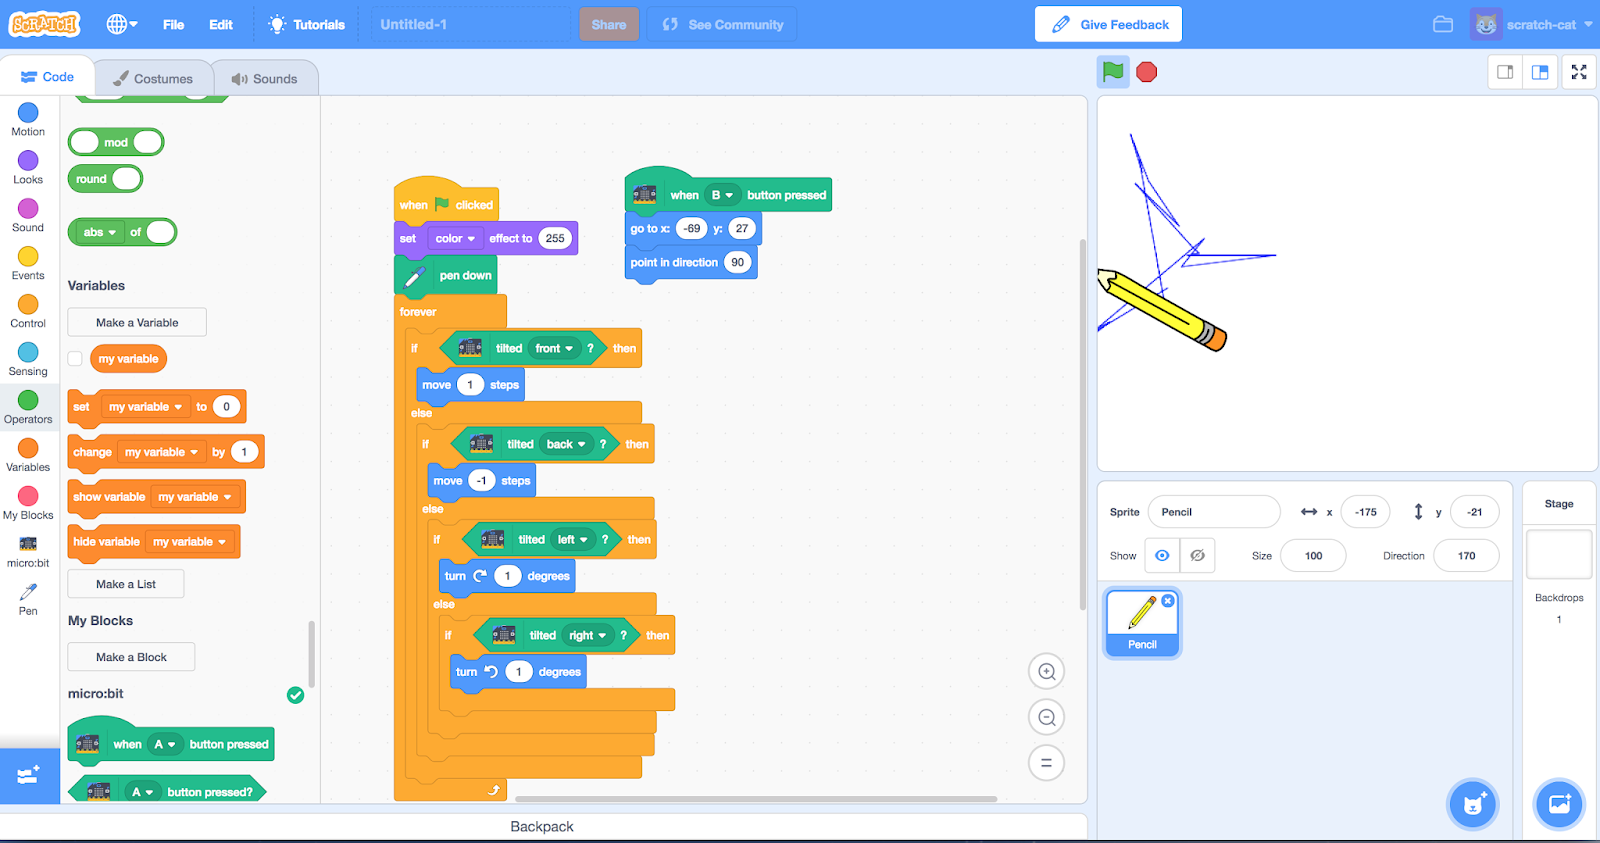
 The microbit is a great piece of kit, not least of which because of the range of programming languages and tools that can be used with it - ...