Showing posts with label x-wing. Show all posts

Friday 4 March 2016

Raspberry Pi geste contrôlé Minecraft X -Wing (revisited )


Translated using Google Translate from http://robotsandphysicalcomputing.blogspot.co.uk/2016/01/gesture-controlled-minecraft-x-wing.html I apologise if there are any translation issues.


Ce poste se fonde sur deux postes précédents et tente de répondre à certains des commentaires très utiles de personnes qui ont essayé cela. J'espère que cela aide.

Globalement, le projet se fonde sur un projet antérieur pour obtenir d'un simple X -Wing dans Minecraft sur ​​un Raspberry Pi . Le but était obtenir Python pour construire et déplacer le X -Wing . Les détails de ce projet peuvent être trouvés ici .


Révision Principale: Dans ce projet, et le précédent est basé autour de Python 3 exécutant le Raspbian ' Jessie ' Novembre version de l'OS . Aussi les bibliothèques supplémentaires peuvent devoir être ajouter pour obtenir le minecraftstuff (comme ShapeBlock ( ) et MinecraftShape ( ) ) . Détails sur la façon d' obtenir et d'installer ceux-ci peuvent être trouvés à


Dans ce post, la supplémentaire de Skywriter de Pirmoroni est inclus pour permettre les mouvements d'une main ou un doigt pour permettre à la X -Wing pour le décollage , la terre , aller de l'avant ou vers l'arrière .


Il se fonde sur des idées du livre Adventures in Minecraft sur ​​l'utilisation de Python et Minecraft utilisant un Raspberry Pi .
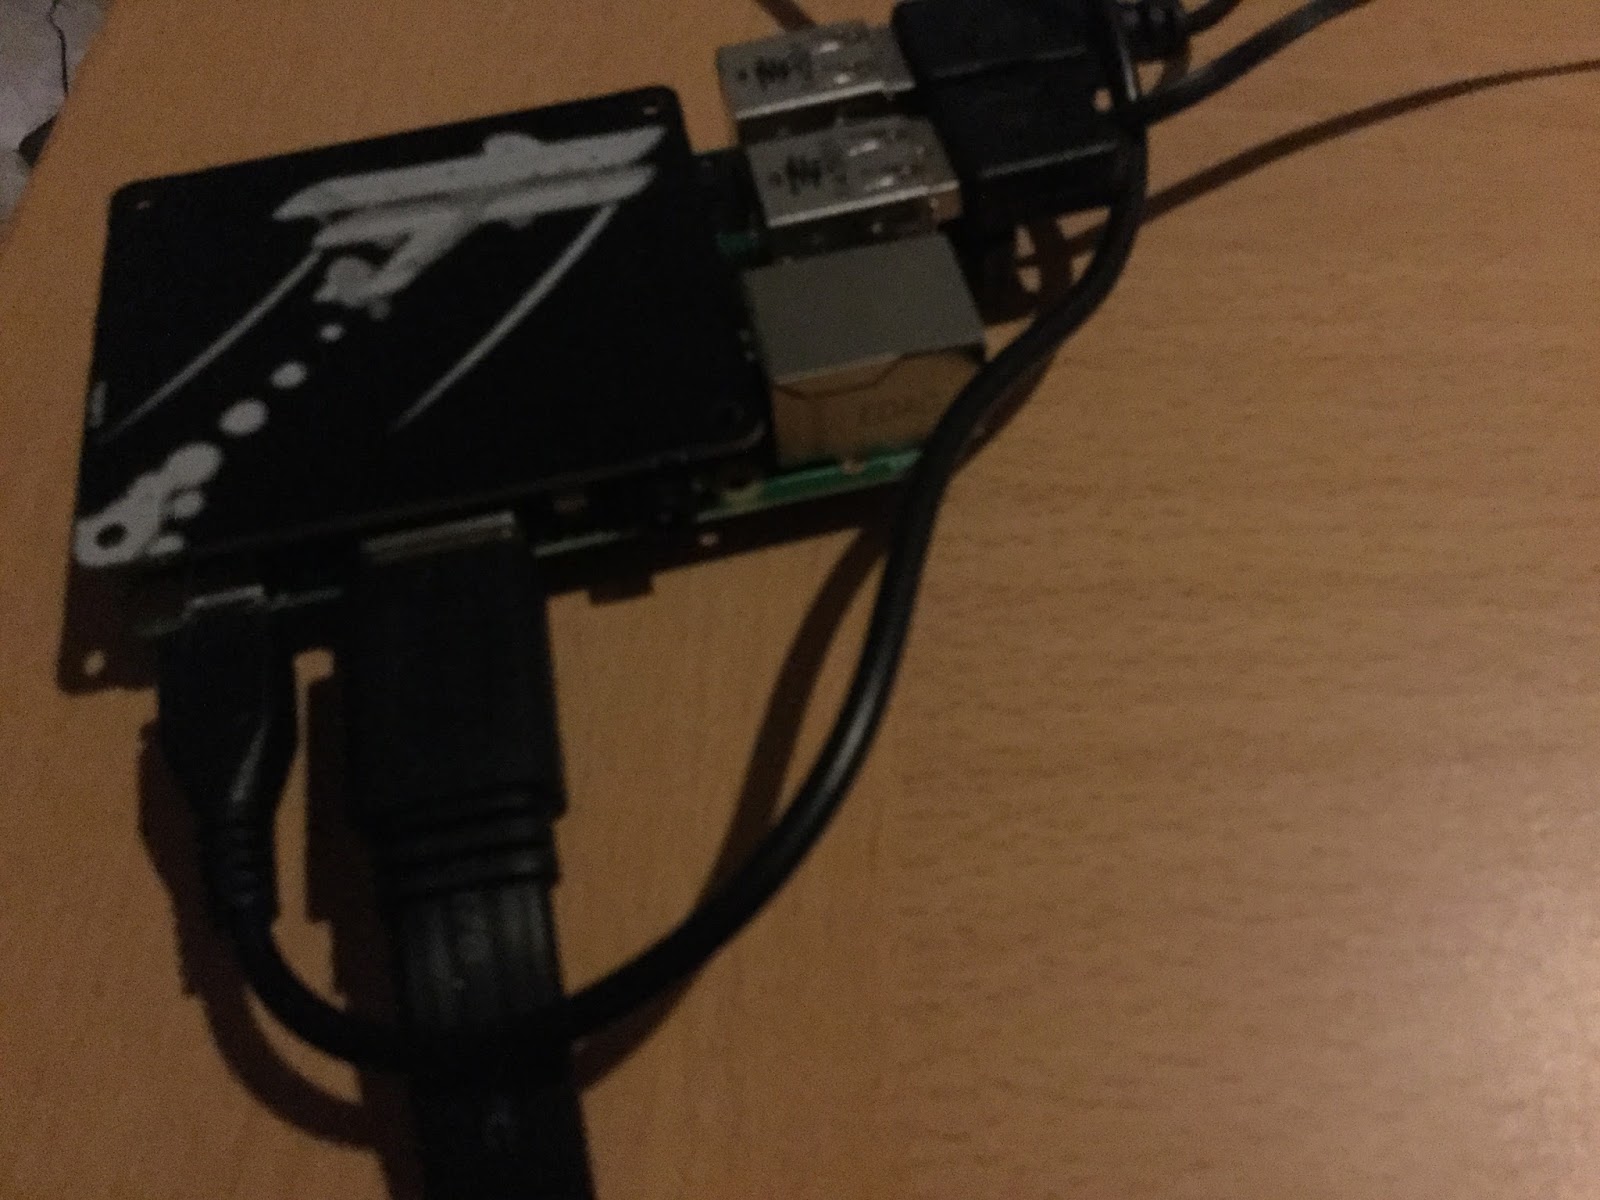

Le Skywriter  est une HAT Raspberry Pi (voir figure 2 ) qui permet à l'information de position de la main juste au-dessus du bord. Dans ce projet, il détecte films de la main , vers le bas, ou à travers le conseil d'administration afin de déterminer la direction du mouvement


Avant de commencer , utilisez le Skywriter dans le terminal que vous devez ajouter
 curl -sSL get.pimoroni.com/skywriter | bash


Pour commencer nous avons juste placé le X -Wing au-dessus du lecteur en plaçant des blocs en forme ( à peu près ) de la X -Wing basée autour de la méthode MinecraftShape ( voir le chapitre 8 de Adventures in Minecraft ) .


• Pour éviter de construire sur le joueur la position de départ de la X -Wing est défini par:• Trouver la position du joueur ;

o    ajouter 5 à la position x du joueur ;
o    ajouter 10 à la position y du joueur ( Le bit je dois me rappeler est l'axe y est vertical. ) ;
o    ajouter 5 à la position z du joueur;
• L'utilisation de ces valeurs construire en utilisant des blocs de laine , le X -Wing - 0 pour le blanc , et 14 pour les blocs rouges ;
• Si un film commence au sommet de la planche (ou «nord» ) cela déplace le X -Wing vers le sol ;
• Si un film commence au bas de la carte (ou " sud " ) cela déplace le X -Wing verticalement vers le haut ;
• Si un film commence sur la droite de la carte (ou «est» ), le X -Wing se déplace vers l'arrière horizontalement ;
• si un film commence sur la gauche de la carte ( ou « ouest »), le X -Wing se déplace vers l'avant .
 
from mcpi.minecraft import Minecraft
from mcpi import block
import mcpi.minecraftstuff as minecraftstuff
import time
import skywriter
import signal

mc=Minecraft.create()
xPos=mc.player.getTilePos()
xPos.x=xPos.x+5
xPos.y=xPos.y+5
xPos.z=xPos.z+5

xWingBlocks=[
minecraftstuff.ShapeBlock(0,0,0,block.WOOL.id,0),
minecraftstuff.ShapeBlock(-1,0,0,block.WOOL.id,0),
minecraftstuff.ShapeBlock(-2,0,0,block.WOOL.id,14),
minecraftstuff.ShapeBlock(-3,0,0,block.WOOL.id,0),
minecraftstuff.ShapeBlock(1,0,0,block.WOOL.id,0),
minecraftstuff.ShapeBlock(0,1,0,block.WOOL.id,0),
minecraftstuff.ShapeBlock(1,1,0,block.WOOL.id,0),
minecraftstuff.ShapeBlock(2,0,0,block.WOOL.id,0),
minecraftstuff.ShapeBlock(2,1,0,block.WOOL.id,0),
minecraftstuff.ShapeBlock(1,2,-1,block.WOOL.id,14),
minecraftstuff.ShapeBlock(1,2,1,block.WOOL.id,14),
minecraftstuff.ShapeBlock(1,-1,-1,block.WOOL.id,14),
minecraftstuff.ShapeBlock(1,-1,1,block.WOOL.id,14),
minecraftstuff.ShapeBlock(1,3,-2,block.WOOL.id,0),
minecraftstuff.ShapeBlock(1,3,2,block.WOOL.id,0),
minecraftstuff.ShapeBlock(1,-2,-2,block.WOOL.id,0),
minecraftstuff.ShapeBlock(1,-2,2,block.WOOL.id,0)]

xWingShape=minecraftstuff.MinecraftShape(mc,xPos,xWingBlocks)

@skywriter.flick()
def flick(start,finish):
  if start=="south":
    for count in range(1,10):
      time.sleep(0.1)
      xWingShape.moveBy(0,1,0)
  if start=="west":
    for count in range(1,10):
      time.sleep(0.1)
      xWingShape.moveBy(-1,0,0)
  if start=="east":
    for count in range(1,10):
      time.sleep(0.1)
      xWingShape.moveBy(1,0,0)
  if start=="north":
    for count in range(1,10):
      time.sleep(0.1)
      xWingShape.moveBy(0,-1,0)
signal.pause()


Pour plus de détails sur Minecraft et Python je suggère d'aller à http://www.stuffaboutcode.com/2013/11/coding-shapes-in-minecraft.html~~V en particulier sur la façon de télécharger le logiciel à mettre en œuvre MinecraftShape . Si vous n'utilisez ou modifiez cette s'il vous plaît laisser un commentaire, je serais ravi de voir ce que les autres faire.


All opinions in this blog are the Author's and should not in any way be seen as reflecting the views of any organisation the Author has any association with. Translation was done with Google Translate – sorry if it causes any offence this was not intentional.

Sunday 7 February 2016

Northamptonshire Raspberry Jam - 16th April 2016

 PiJam event on Saturday 16th April 2016, in Newton Building, University of Northampton, NN2 6JB.

This is a free event, open to those who either want to found out more about the Raspberry Pi; want to share with others what they have done with the Pi; or just want to talk with others about them. Most of all (I hope) to have some fun.

The event has been supported by the University of Northampton providing the rooms.

Tickets (Free) are available at: https://www.eventbrite.com/e/northamptonshire-raspberry-jam-tickets-20886649531

Examples of possible 'show and tell ' items include:

-Minecraft running on a Raspberry Pi with movement controlled with gesture control of an Star Wars styled X-Wing


- Raspberry Pi controlling a 'junk robot'


More updates to follow. 

Tickets (Free) are available at: https://www.eventbrite.com/e/northamptonshire-raspberry-jam-tickets-20886649531


All opinions in this blog are the Author's and should not in any way be seen as reflecting the views of any organisation the Author has any association with.

Sunday 24 January 2016

Raspberry Pi gesture controlled Minecraft X-Wing (revisited)

figure 1
This post builds on two earlier posts and tries to address some of the very useful comments from people who have tried this. I hope this helps.

Overall the project builds on an earlier project to get a simple X-Wing into Minecraft on a Raspberry Pi.  The goal was get Python to build and move the X-Wing. Details of this project can be found here.

Main revision: In this project and the earlier one is based around Python 3 running the Raspbian 'Jessie' November version OS. Also additional libraries may need to be add to get the minecraftstuff (such as ShapeBlock() and MinecraftShape()). Details on how to obtain and install these can be found at  http://www.stuffaboutcode.com/2013/11/coding-shapes-in-minecraft.html .

In this post the additional of Pirmoroni's Skywriter is included to allow movements of a hand or a finger to enable the X-Wing to take-off, land, move forward or backward.

It builds on ideas from the book Adventures in Minecraft on using Python and Minecraft using a Raspberry Pi.


figure 2
The Skywriter  is a Raspberry Pi HAT (see figure 2) that allows positional information of the hand just above the board. In this project it is detecting flicks of the hand up, down, or across the board to determine the direction of motion.

Before you start, to use the Skywriter, in the terminal you need to add curl -sSL get.pimoroni.com/skywriter | bash

To start with we just placed the X-Wing above the player by placing blocks in the shape (roughly) of the X-Wing based around the method MinecraftShape (see Chapter 8 of Adventures in Minecraft ).


figure 3

  • Find the position of the player;
  • To avoid building on top the player the starting position of the X-Wing is set by:
    • add 5 to the x position of the player;
    • add 10 to the y position of the player(The bit I have to keep reminding myself is the y-axis is vertical.);
    • add 5 to the z position of the player;
  • Using these values build using, Wool blocks, the X-Wing - 0 for white, and 14 for red blocks;
  • If a flick starts at the top of the board (or "north") this moves the X-Wing down towards the ground;
  • If a flick starts at the bottom of the board (or "south") this moves the X-Wing vertically up;
  • If a flick starts on the right of the board (or "east") the X-Wing moves backwards horizontally;
  • if a flick starts on the left of the board (or "west") the X-Wing moves forward.
    from mcpi.minecraft import Minecraft
    from mcpi import block
    import mcpi.minecraftstuff as minecraftstuff
    import time
    import skywriter
    import signal

    mc=Minecraft.create()
    xPos=mc.player.getTilePos()
    xPos.x=xPos.x+5
    xPos.y=xPos.y+5
    xPos.z=xPos.z+5

    xWingBlocks=[
    minecraftstuff.ShapeBlock(0,0,0,block.WOOL.id,0),
    minecraftstuff.ShapeBlock(-1,0,0,block.WOOL.id,0),
    minecraftstuff.ShapeBlock(-2,0,0,block.WOOL.id,14),
    minecraftstuff.ShapeBlock(-3,0,0,block.WOOL.id,0),
    minecraftstuff.ShapeBlock(1,0,0,block.WOOL.id,0),
    minecraftstuff.ShapeBlock(0,1,0,block.WOOL.id,0),
    minecraftstuff.ShapeBlock(1,1,0,block.WOOL.id,0),
    minecraftstuff.ShapeBlock(2,0,0,block.WOOL.id,0),
    minecraftstuff.ShapeBlock(2,1,0,block.WOOL.id,0),
    minecraftstuff.ShapeBlock(1,2,-1,block.WOOL.id,14),
    minecraftstuff.ShapeBlock(1,2,1,block.WOOL.id,14),
    minecraftstuff.ShapeBlock(1,-1,-1,block.WOOL.id,14),
    minecraftstuff.ShapeBlock(1,-1,1,block.WOOL.id,14),
    minecraftstuff.ShapeBlock(1,3,-2,block.WOOL.id,0),
    minecraftstuff.ShapeBlock(1,3,2,block.WOOL.id,0),
    minecraftstuff.ShapeBlock(1,-2,-2,block.WOOL.id,0),
    minecraftstuff.ShapeBlock(1,-2,2,block.WOOL.id,0)]

    xWingShape=minecraftstuff.MinecraftShape(mc,xPos,xWingBlocks)

    @skywriter.flick()
    def flick(start,finish):
      if start=="south":
        for count in range(1,10):
          time.sleep(0.1)
          xWingShape.moveBy(0,1,0)
      if start=="west":
        for count in range(1,10):
          time.sleep(0.1)
          xWingShape.moveBy(-1,0,0)
      if start=="east":
        for count in range(1,10):
          time.sleep(0.1)
          xWingShape.moveBy(1,0,0)
      if start=="north":
        for count in range(1,10):
          time.sleep(0.1)
          xWingShape.moveBy(0,-1,0)

    signal.pause()


    For more details on Minecraft and Python I would suggest going to http://www.stuffaboutcode.com/2013/11/coding-shapes-in-minecraft.html especially on how to download the software to implement MinecraftShape. 


    If you do use or modify this please leave a comment, I would love to see what others do with it.


    All opinions in this blog are the Author's and should not in any way be seen as reflecting the views of any organisation the Author has any association with.

    Top posts on this blog in March 2024

    The Top 10 viewed post on this blog in March 2024. Covering areas such as small robots, augmented reality, Scratch programming, robots. Micr...