Monday 31 October 2016

Simple (and temporary) Halloween Hack


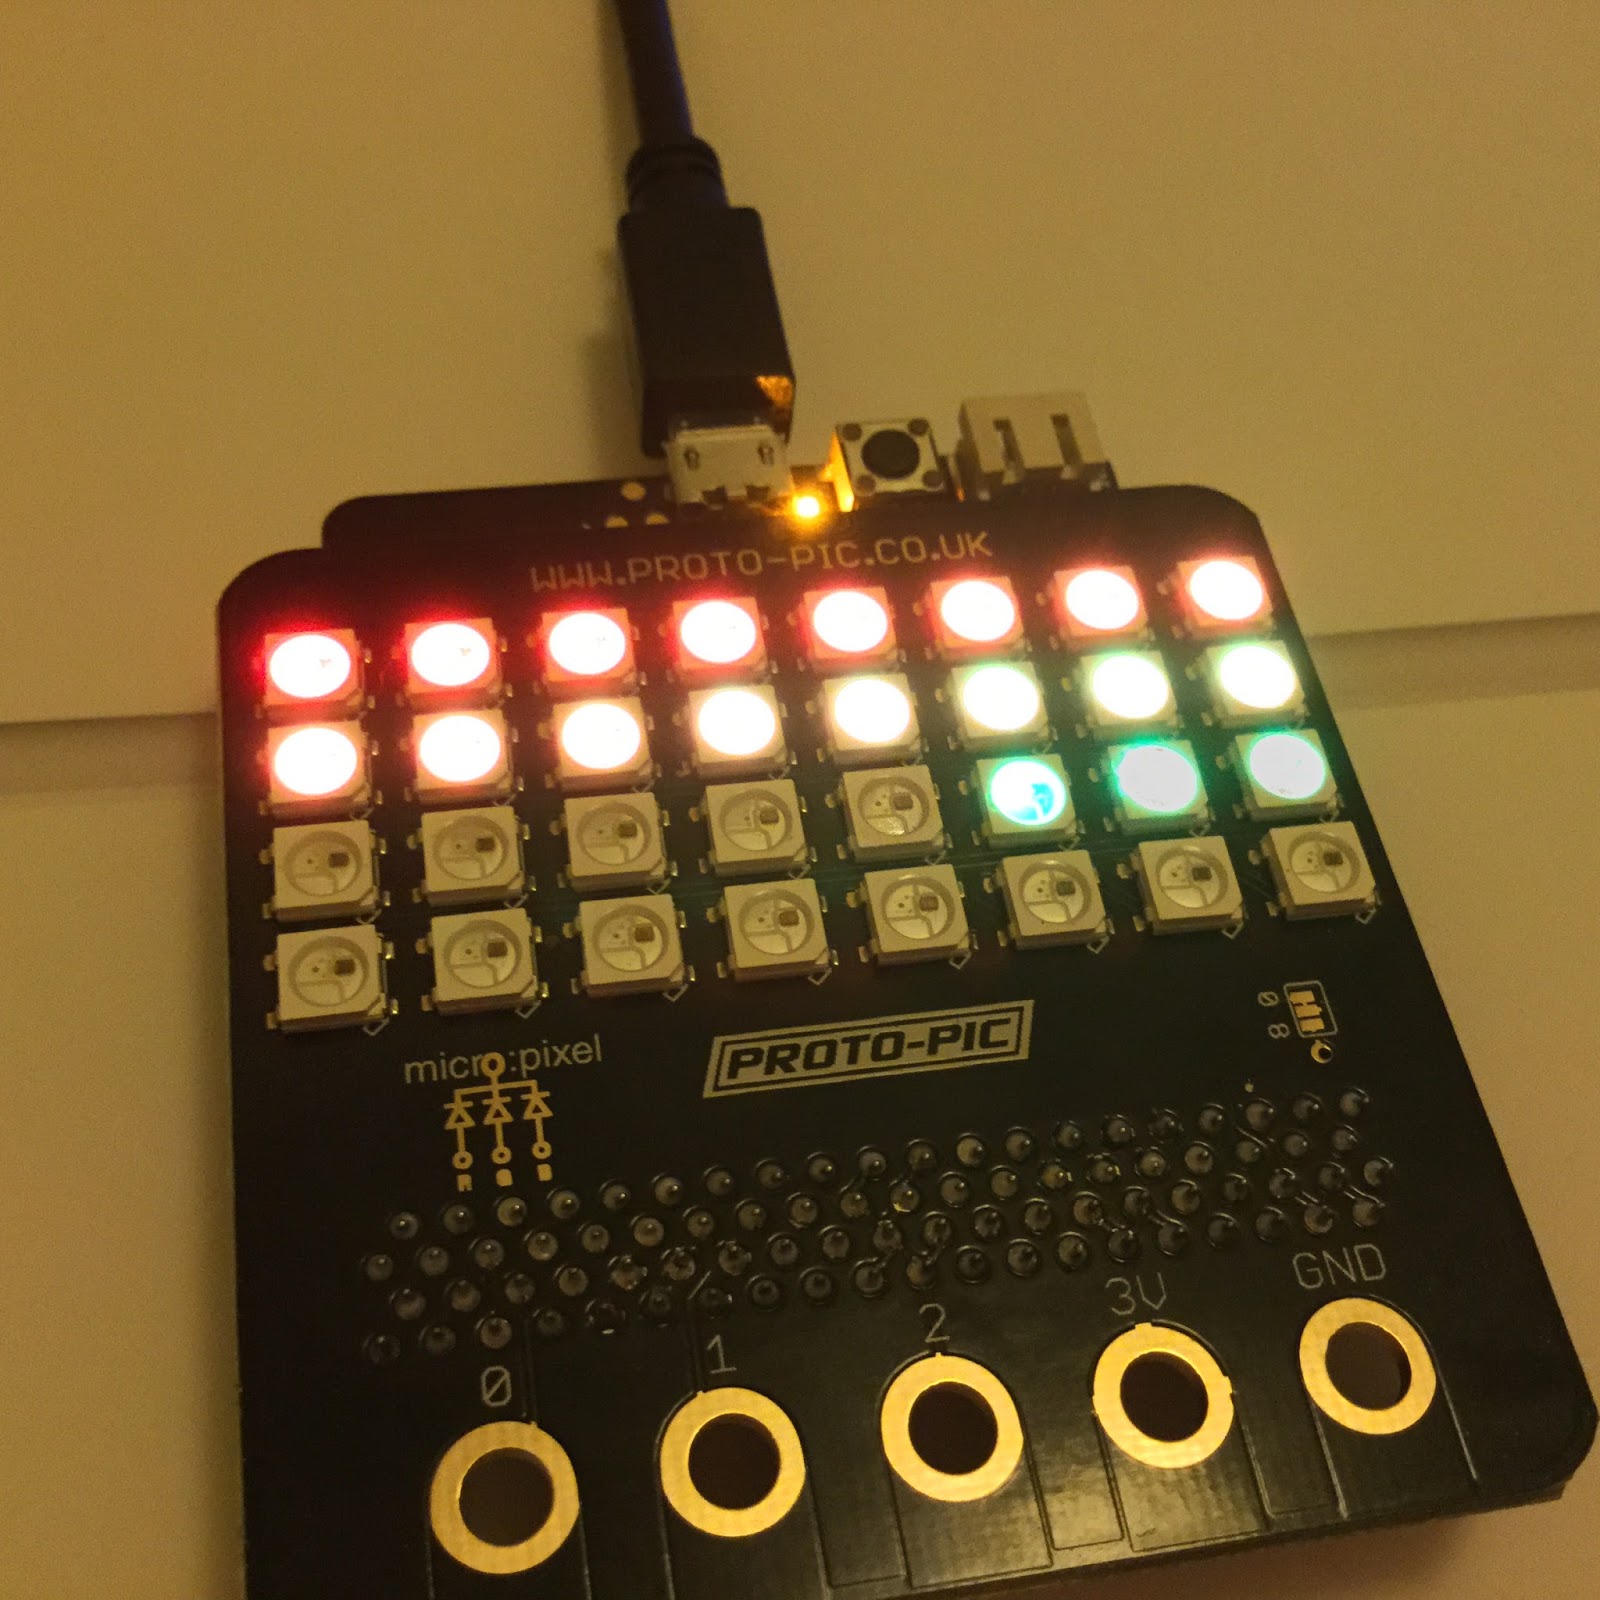
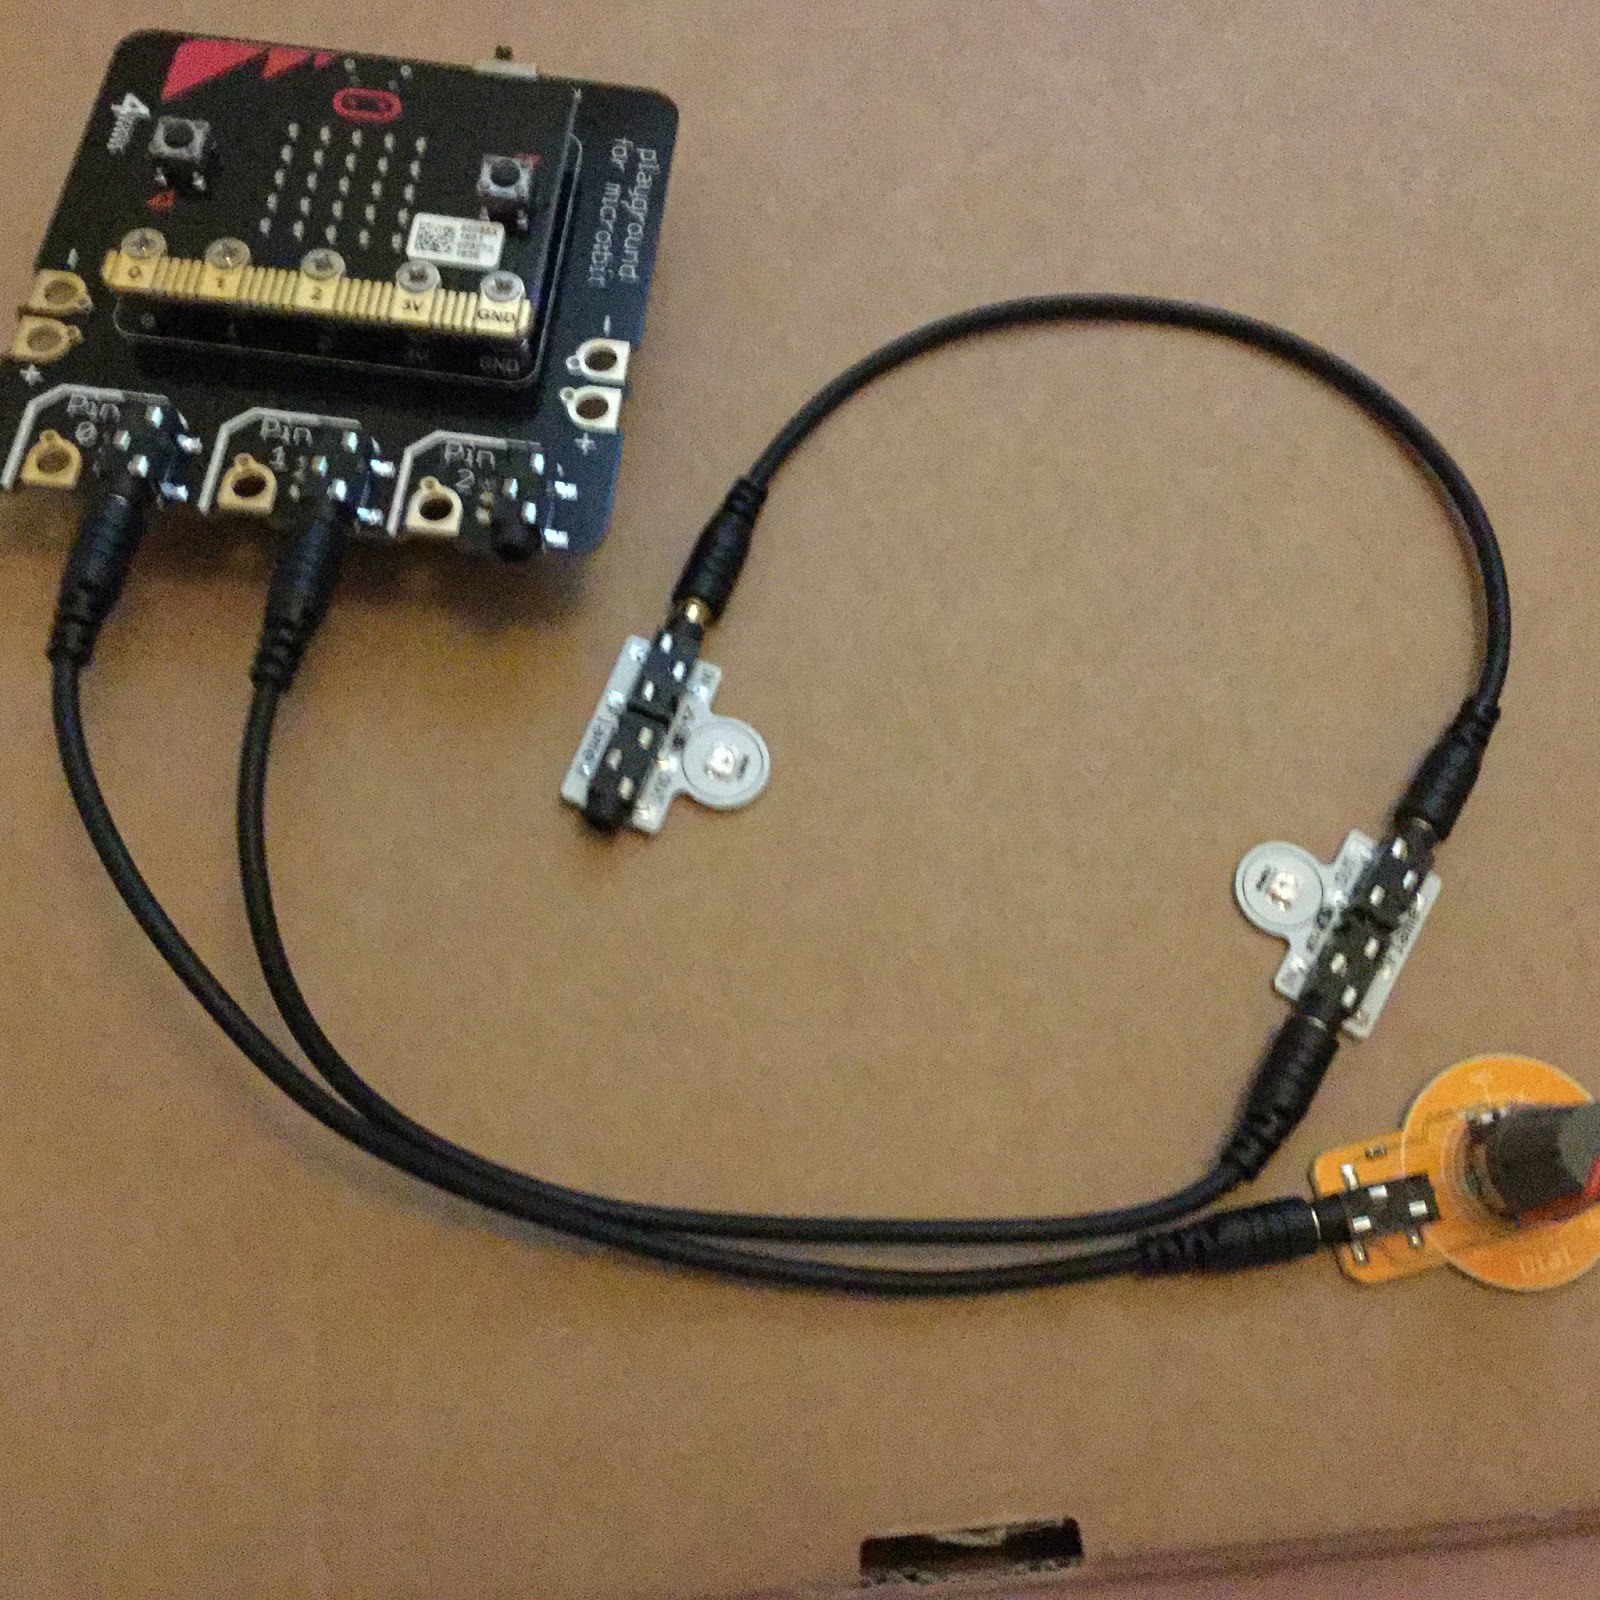
This really is a simple one. A Glowbug (or a NeoPixel) with the data in, Ground and 5v connected pushed into the neck of the balloon, then inflated the balloon. The neck of the balloon and wires are twisted tightly and insulating tape used to provide a bit of a seal.

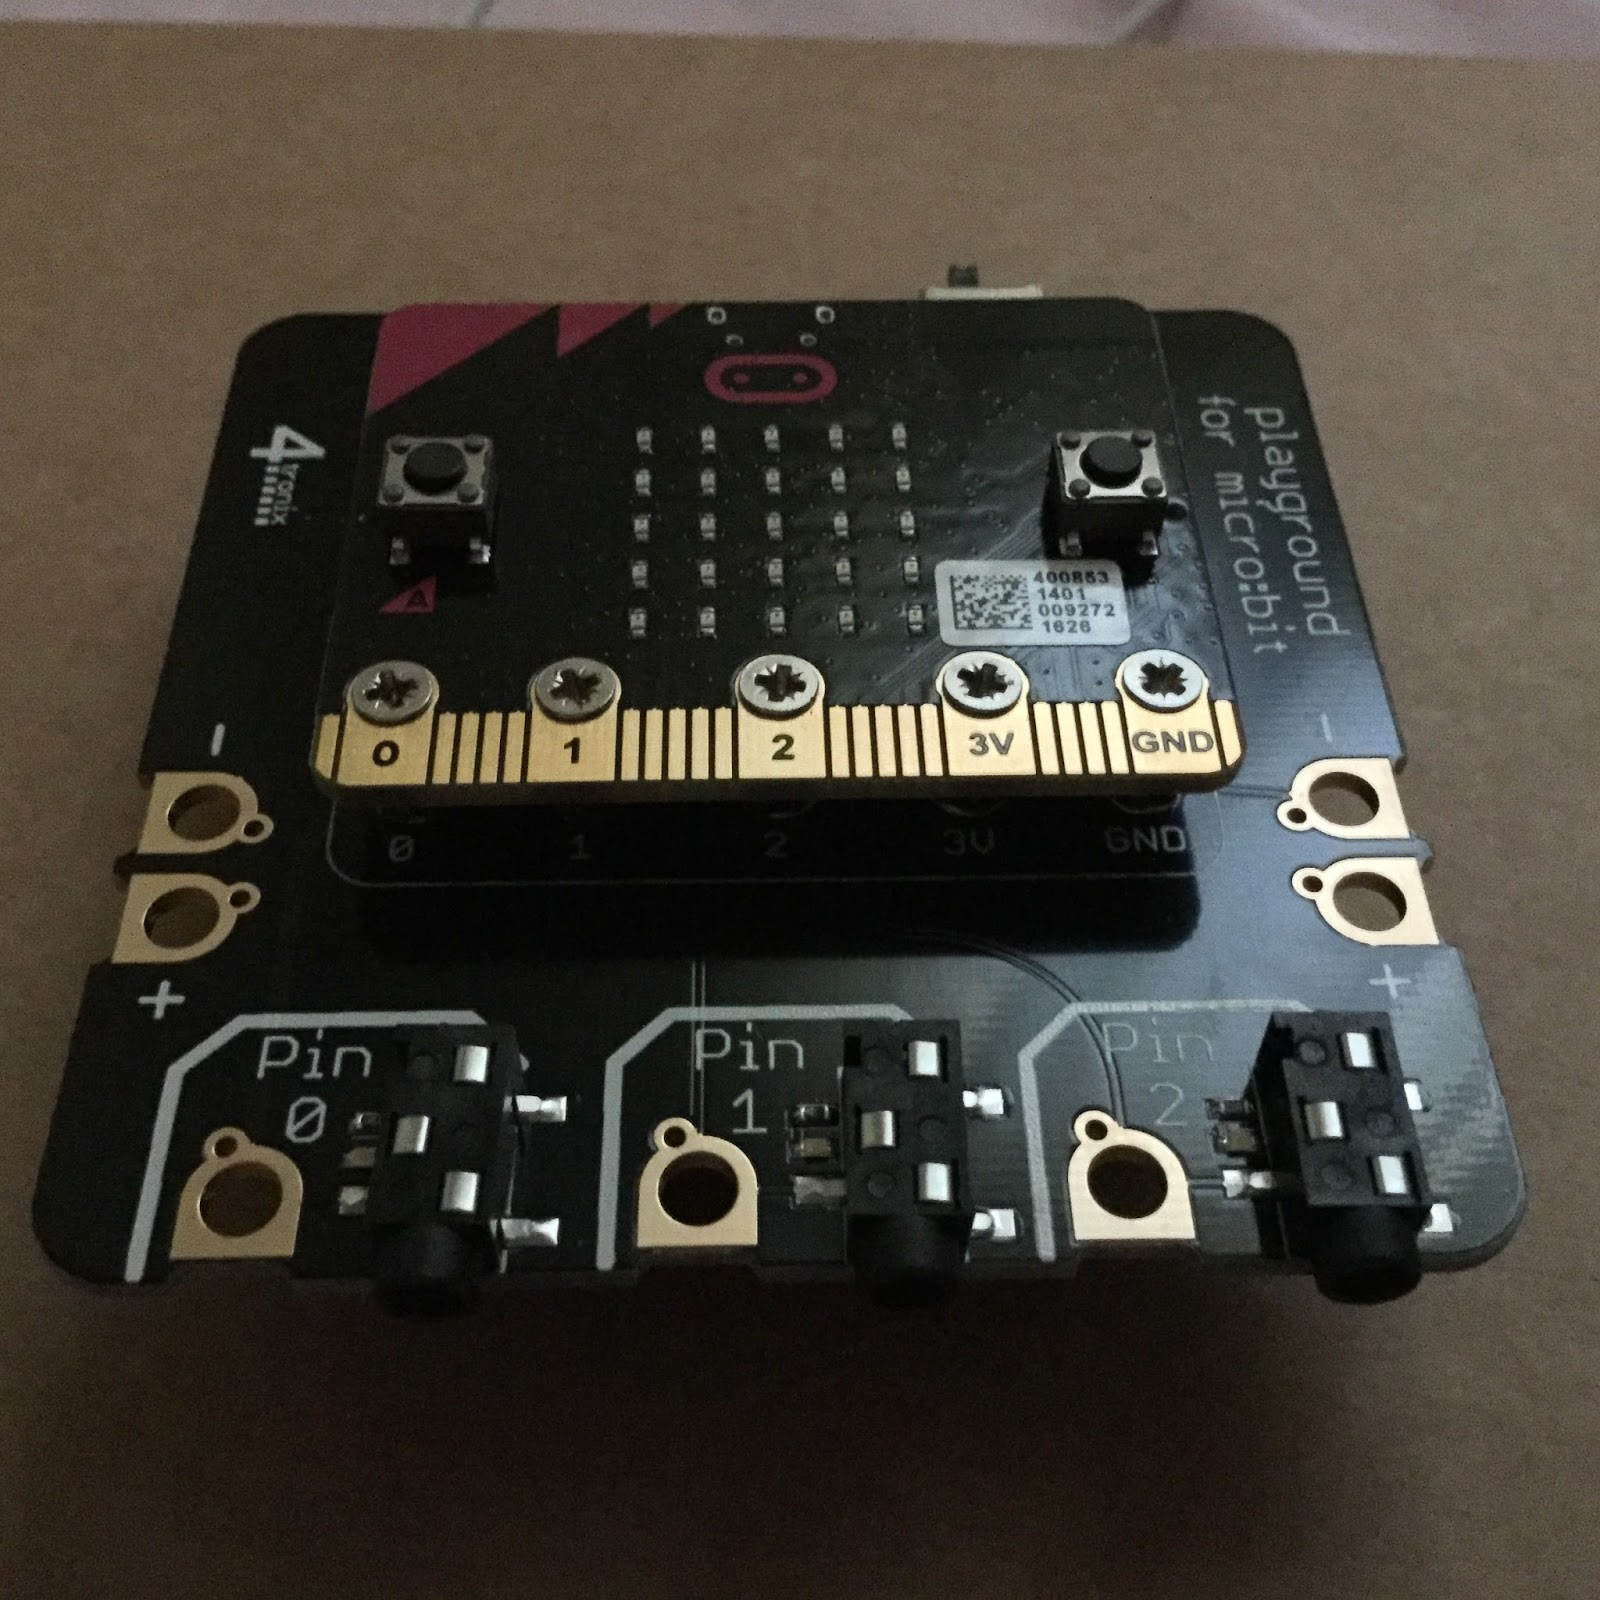
The data in wire is connected to Pin 0 of a Micro:Bit and the other two wires are attached to the corresponding connections of the Micro:Bit. The code below randomly selects the colours and the length of the delay before changing colour.

from microbit import *
import neopixel, random

np = neopixel.NeoPixel(pin0, 1)

while True:
    rd=random.randint(1,254)
    gr=random.randint(1,254)
    bl=random.randint(1,254)
    t1=random.randint(200,2000)
    np[0] = (rd, gr, bl)
    np.show()
    sleep(t1)

The problem is a slow leak means it only stays inflated for a short while.


All opinions in this blog are the Author's and should not in any way be seen as reflecting the views of any organisation the Author has any association with. Twitter @scottturneruon

Monday 24 October 2016

Dancing pixels

In previous post I played with using the combination of the Proto-Pic Micro:pixel and Micro:Bit to react, using the accelerometer, to music through a computer speakers. The vibrations from the music shake the Micro:Bit enough to give measurable changes in three axis, and these values are used to change the pixels colour.


The latest version of this uses most of pixels.


Coded in micropython using the Mu editor.

from microbit import *
import neopixel, random

np = neopixel.NeoPixel(pin0, 32)

while True:
    for pxl in range (2,32, 5):
        rd=int(abs(accelerometer.get_x())/20)
        gr=int(abs(accelerometer.get_y())/20)
        bl=int(abs(accelerometer.get_z())/20)
        np[pxl] = (rd, gr, 0)
        np[pxl-1] = (rd, gr, 0)
        np[pxl+1] = (0, gr, rd)
        np[pxl-2] = (rd, 0, 0)
        np[pxl+2] = (0, gr,0)
        np.show()

Video of it action, using royalty-free music Electro Deluxe by My Free Mickey feat. Gurdonark. http://dig.ccmixter.org/files/myfreemickey/48180


As one of the reviewers on Proto-Pic site states, the box the Micro:pixel comes in does make a good diffuser.

All opinions in this blog are the Author's and should not in any way be seen as reflecting the views of any organisation the Author has any association with. Twitter @scottturneruon

Saturday 22 October 2016

Microbit + Micro:pixel reacting to music

This post discusses a simple way to get the Micropixel-Micro:Bit combination to change the Neopixels based on the music. Using the accelerometer on the Micro:Bit to provide x,y,z values to provide colour values for the neopixels; the micropixel sits over the speaker and vibrations are picked up. 

Simple but it roughly works (see the video at the end of the post).


Code
from microbit import *
import neopixel, random

# Setup the Neopixel strip on pin0 with a length of 2 pixels
np = neopixel.NeoPixel(pin0, 32)

while True:
    pxl=11
    rd=int(abs(accelerometer.get_x())/20)
    gr=int(abs(accelerometer.get_y())/20)
    bl=int(abs(accelerometer.get_z())/20)
    t1=10
    np[pxl] = (0, 0, bl)
    np[pxl-1] = (rd, gr, 0)
    np[pxl+1] = (0, gr, rd)
    np[pxl-2] = (rd, 0, 0)
    np[pxl+2] = (0, gr,0)
    np.show()
    sleep(t1)
    np[pxl] = (0, 0, 0)
    np[pxl+1] = (0, 0, 0)
    np[pxl-1] = (0, 0, 0)
    np[pxl+2] = (0, 0, 0)
    np[pxl-2] = (0, 0, 0)


Video of it action using Revolve by cinematrix available under Creative Commons Licence (http://ccmixter.org/files/hisboyelroy/430 ).


Always obey the safety advice provided by Micro:bit https://microbit0.blob.core.windows.net/pub/jedfednb/Parent-and-Teacher-micro-bit-safety-guide.pdf 


All opinions in this blog are the Author's and should not in any way be seen as reflecting the views of any organisation the Author has any association with. Twitter @scottturneruon

Disco micro:pixel


In a previous post Proto-Pic board, Microbit and Micropython I played with the Proto-Pic micro:pixel 4x8 NeoPixel board. 

This post is just a short description of a quick play with making it flashing blocks of different colours across the board. The routine produces five random numbers (three to define the colours, one for which pixel is selected and the last for the delay each iteration). The idea of being - a pixel is selected, but so are the ones either side of it, each one has a different combination of the colour values, but only two of the pixels are turned off after the delay.

from microbit import *
import neopixel, random

# Setup the Neopixel strip on pin0 with a length of 2 pixels
np = neopixel.NeoPixel(pin0, 32)

while True:
    pxl=random.randint(1,30)
    rd=random.randint(1,32)
    gr=random.randint(1,32)
    bl=random.randint(1,32)
    t1=random.randint(10,100)
    np[pxl] = (rd, gr, bl)
    np[pxl-1] = (gr, bl, rd)
    np[pxl+1] = (bl, rd, gr)
    np.show()
    sleep(t1)
    np[pxl] = (0, 0, 0)
    np[pxl+1] = (0, 0, 0)

The video below shows the routine in action. There is no connection between the pixels and the music on the video - but making the connection between music and the pixels would be an interesting project.


All opinions in this blog are the Author's and should not in any way be seen as reflecting the views of any organisation the Author has any association with. Twitter @scottturneruon

Thursday 20 October 2016

micro:pixel board, micro:bit and micropython

A new (or to me at least)  addition to devices you can attach a Micro:Bit to, is the Proto-Pic micro:pixel 4x8 NeoPixel board; essentially a board with 4 x8 grid of NeoPixels that you plug the Micro:Bit into. Following the advice of the website the  values of RGB are all set to 32 or below to avoid pulling too much power. Pin0 is used to write to. You will need to use the Mu editor for this.


Two tests were tried

Example 1: To get the pixels to appear to light up from the last to the first one.

from microbit import *
import neopixel

np = neopixel.NeoPixel(pin0, 32)


while True:

    for x in range(0, 32):
        for y in range(0, (32-x)):
            np[y] = (y, 32-y, 1)
            if (y>0):
                np[y-1]=(0,0,0)
            np.show()
            sleep(30)


Example 2: To randomly select a pixel and its colour.

from microbit import *
import neopixel, random

np = neopixel.NeoPixel(pin0, 32)

while True:

    pxl=random.randint(0,31)
    rd=random.randint(1,32)
    gr=random.randint(1,32)
    bl=random.randint(1,32)
    np[pxl] = (rd, gr, bl)
    np.show()
    sleep(500)
    np[pxl] = (0, 0, 0)


This is a good, fun board to play with; relatively easy to use.


All opinions in this blog are the Author's and should not in any way be seen as reflecting the views of any organisation the Author has any association with. Twitter @scottturneruon

Thursday 6 October 2016

Micro:bit sings - sort of

Just a short post today on getting the Micro:bit to sing using micropython. The process is covered very well in the Micro:bit-Micropython documentation. This post is just my notes really of what I did.

The goal was to the try and replicate a bit of the intro to Kraftwerk's The Man-Machine (the repeating of Machine)- I came nowhere near it but it was fun trying.

Everything needs to be spelt out in Phonemes, which is a bit of a challenge, but I only had one word to do so that was ok. The Micro:bit-Micropython documentation has a list of the Phonemes allowed, you do need to get them right this was the most common error I found with the code. Pins 0 and 1 had croc-clips connecting them to the first and third parts on a speakers 3.5mm plug (as above) - thank you to Sway Grantham for showing me that.

from microbit import *
import speech

while True:

    speech.sing("MEYSHEYN  ", pitch=90,speed=100)
    speech.sing("MEYSHEYN  ", pitch=70, speed=80)
    speech.sing("MEYSHEYN  ", pitch=60,speed=60)


It is good fun, but develop it away from others, it has the potential to annoy.

It also works with 4Tronix's (thank you for the suggestion) Micro:Bit PlayGround - only one connection needed this time.


All opinions in this blog are the Author's and should not in any way be seen as reflecting the views of any organisation the Author has any association with. Twitter @scottturneruon

Monday 3 October 2016

Playing with 4Tronix's Micro:bit Playground

As much as I like the simplicity and flexibility of Crocodile Clips connecting components to a Micro:Bit, it can get a bit of a rat's nest of wires (especially if you are as messy as I am!). 4Tronix's have released their Micro:Bit PlayGround (http://4tronix.co.uk/store/index.php?rt=product/product&path=89&product_id=580)which is a board that has 3.5mm jack plugs to connect to a range of Gizmos (their phrase not mine) to which the Micro:Bit is screwed into. The battery pack is integrated onto the board on its back (see image below)


The Micro:Bit screws into the PlayGround via five screws which also for the connection between the PlayGround and the 'bit'. 

Below via the three cables connecting 3.5mm plugs, I have attached a 'Dial' (a potentiometer ) and two Flames (neopixels) to change the LED/neopixel's colours by rotating the Dial. Pin 0 has the 'Dial' attached and Pin 1 has the two Flames (neopixels) attached the out from the first goes in as input of the second via one the cables. 


Code
Essentially vary the 'Dial' varies the R,G,B values going to the two Flames/neopixels and so varying their colours. The code used is shown below.

from microbit import *
import neopixel

# Setup the Neopixel strip on pin0 with a length of 2 pixels

np = neopixel.NeoPixel(pin1, 2)

while True:

    s1=int(pin0.read_analog()/5)
    np[0] = (255, s1, 255-s1)
    np[1] = (s1,255, 255-s1)
    np.show()


Video of it in action


Thoughts
I like the idea that the cable doing both the power and control for the Gizmos, it does simplify building a little, more importantly it does produce less clutter (not so many wires). The whole unit with the batteries installed is a little weighty but that does give it at the same a sense of sturdiness which is a positive feature for just playing around  - you wouldn't use it for wearables. Not using croc clips also avoids issues with the clips slipping off with rough handling. 

Nice little arrangement which I am enjoying playing - is for everyone? Probably not, but does provide a sturdy system to experiment with some standardised units.


Related Links
Micro:Bit Playground - Starter Kit
Traffic lights - Microbit, GlowBugs and micropython


All opinions in this blog are the Author's and should not in any way be seen as reflecting the views of any organisation the Author has any association with. Twitter @scottturneruon

Top posts on this blog in March 2024

The Top 10 viewed post on this blog in March 2024. Covering areas such as small robots, augmented reality, Scratch programming, robots. Micr...